
I will be doing a live demo of this on ClayShare on July 31.
Here are the instructions for making the July 2024 mystery box 3d house. This is for making the house into a jar with a removable roof lid. Pictures are shown making the Gingerbread house, but work the same with the Traditional house. Also the roof and trim on the Gingerbread house and Traditional house are interchangeable. Feel free to mix and match stamps and decor from each box.
Roll clay out to approximately 1/4" thick and compress both sides
I recommend, stamping and texturing all pieces before you cut them out. I lay out my cutters and rough cut or mark around them to get my sizes. Stamp or roll texture, then cut out your shapes.
For each house, you will need to cut out:
2 house fronts (front & back)
2 roof sides
2 roof trims
2 side walls (4" square for the gingerbread house, 4" x 4.5" rectangle for the traditional house)
1 base (4.5" square for the gingerbread house, 4.5" x 5" rectangle for the traditional house) Feel free to use a larger square, circle or other shape if you want to add some sculpted elements to the "yard"

Start by building the roof first.
45 degree bevel cut the inner top edge of the "roof sides" and score
Score both side edges of the roof sides and the the roof trim as shown in the following photo

Assemble the 2 roof sides. I used a square tissue box to keep the 90 degree angle and to support the sides. Then attach one trim, flip the piece over and attach the other trim.


After the roof has set up enough to hold its shape without the tissue box, you will want to add a coil to the inside pitch where the 2 roof sides meet up. I did not need a coil where the sides attach to the trim, but I did make sure that it had a good seal.
Set the roof aside and work on the house base.
Building the base:

Score approximately 1/4" in on both sides of the back of the house fronts as shown in the photo (note: there is no beveling on the house base)

Score and slip the side edges of the 2 side walls and attach on to the house front as shown in photo. Add a coil to reinforce the joins.

Gently stand the piece up and attach the opposite house front. Add coils to reinforce.

Let piece set up enough to not collapse. You can put 2 sponges in for support but be sure you don't push them in all the way or they will be hard to remove. Lay the piece back down as shown in the photo. Score the bottom surface and the top edges of the base. Slip and attach. (Sponges are from the tile department at Lowes, and come in a 3 pack)

Stand up and remove the sponges before the piece has a chance to shrink. Add coils to the base if necessary.

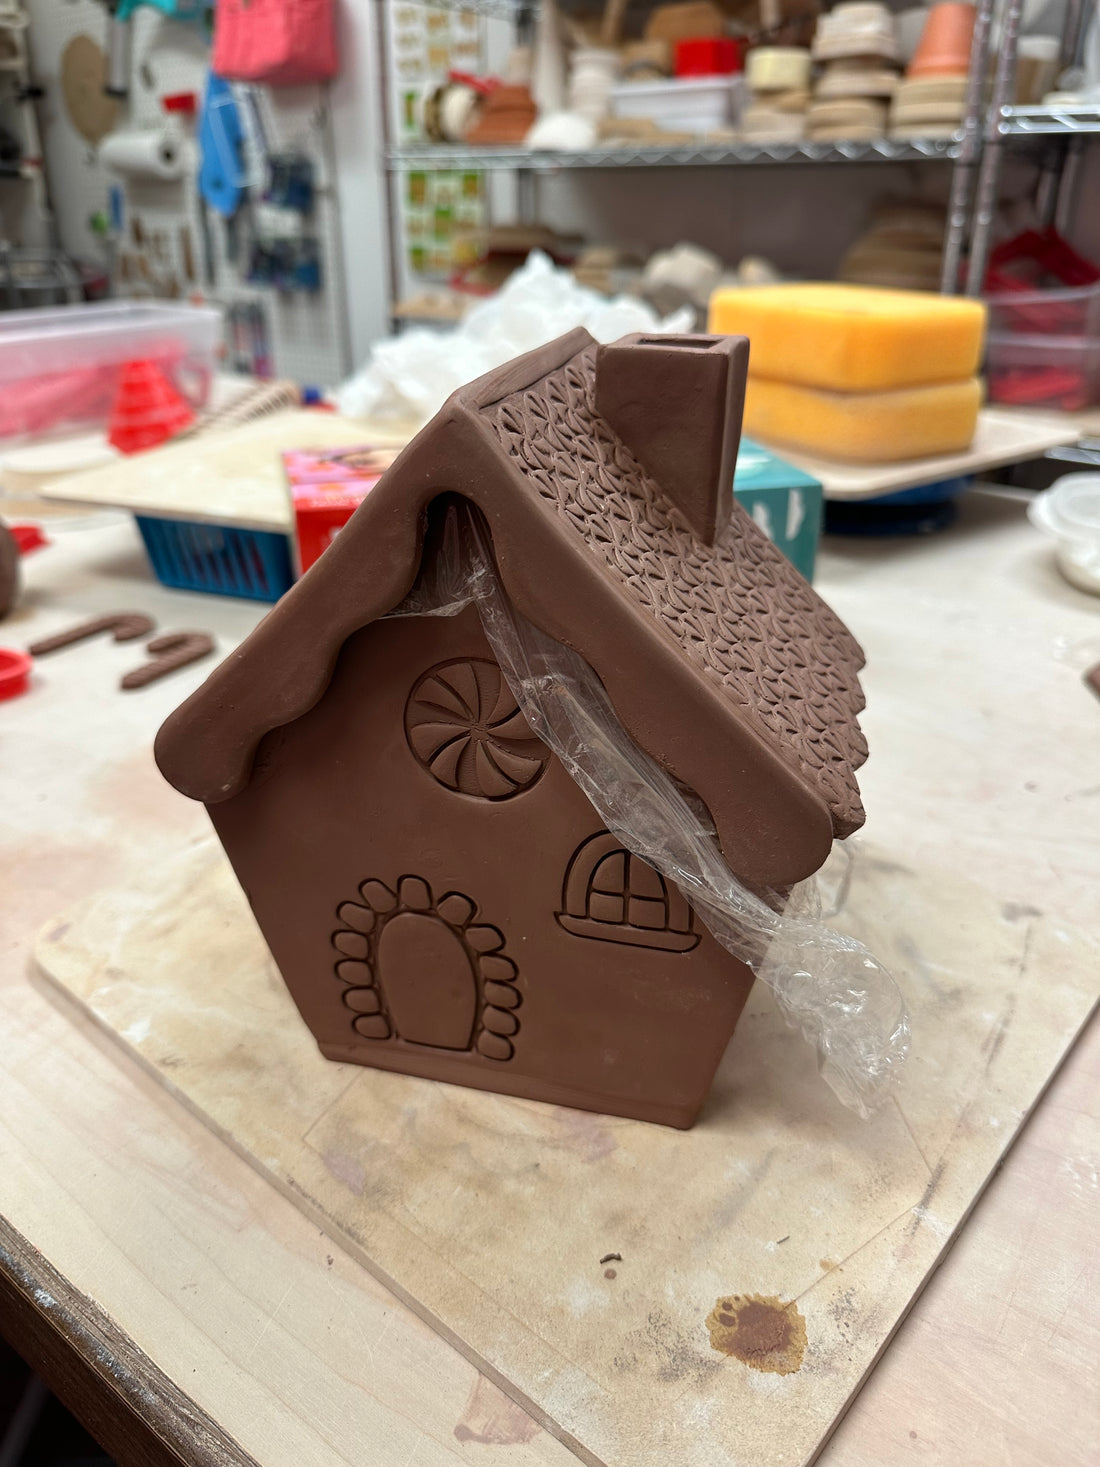
Loosely add some stuffing to hold the shape, cover with cling wrap or plastic before placing the roof on so that it doesn't stick completely.


Make and attach the optional chimney. Instructions on another post on the project page. You may need to remove the lid after attaching the chimney to apply pressure from the underneath when attaching. Wrap up and allow to dry slowly.

Post your completed houses on social media and tag me @debi_delacruz on IG or De La Design Gifts Pottery Supplies on FB. Use hashtag #deladesignmysterybox
Next up, make a luminary, bird house, frog house, fairy house, haunted house, etc. What will you create?